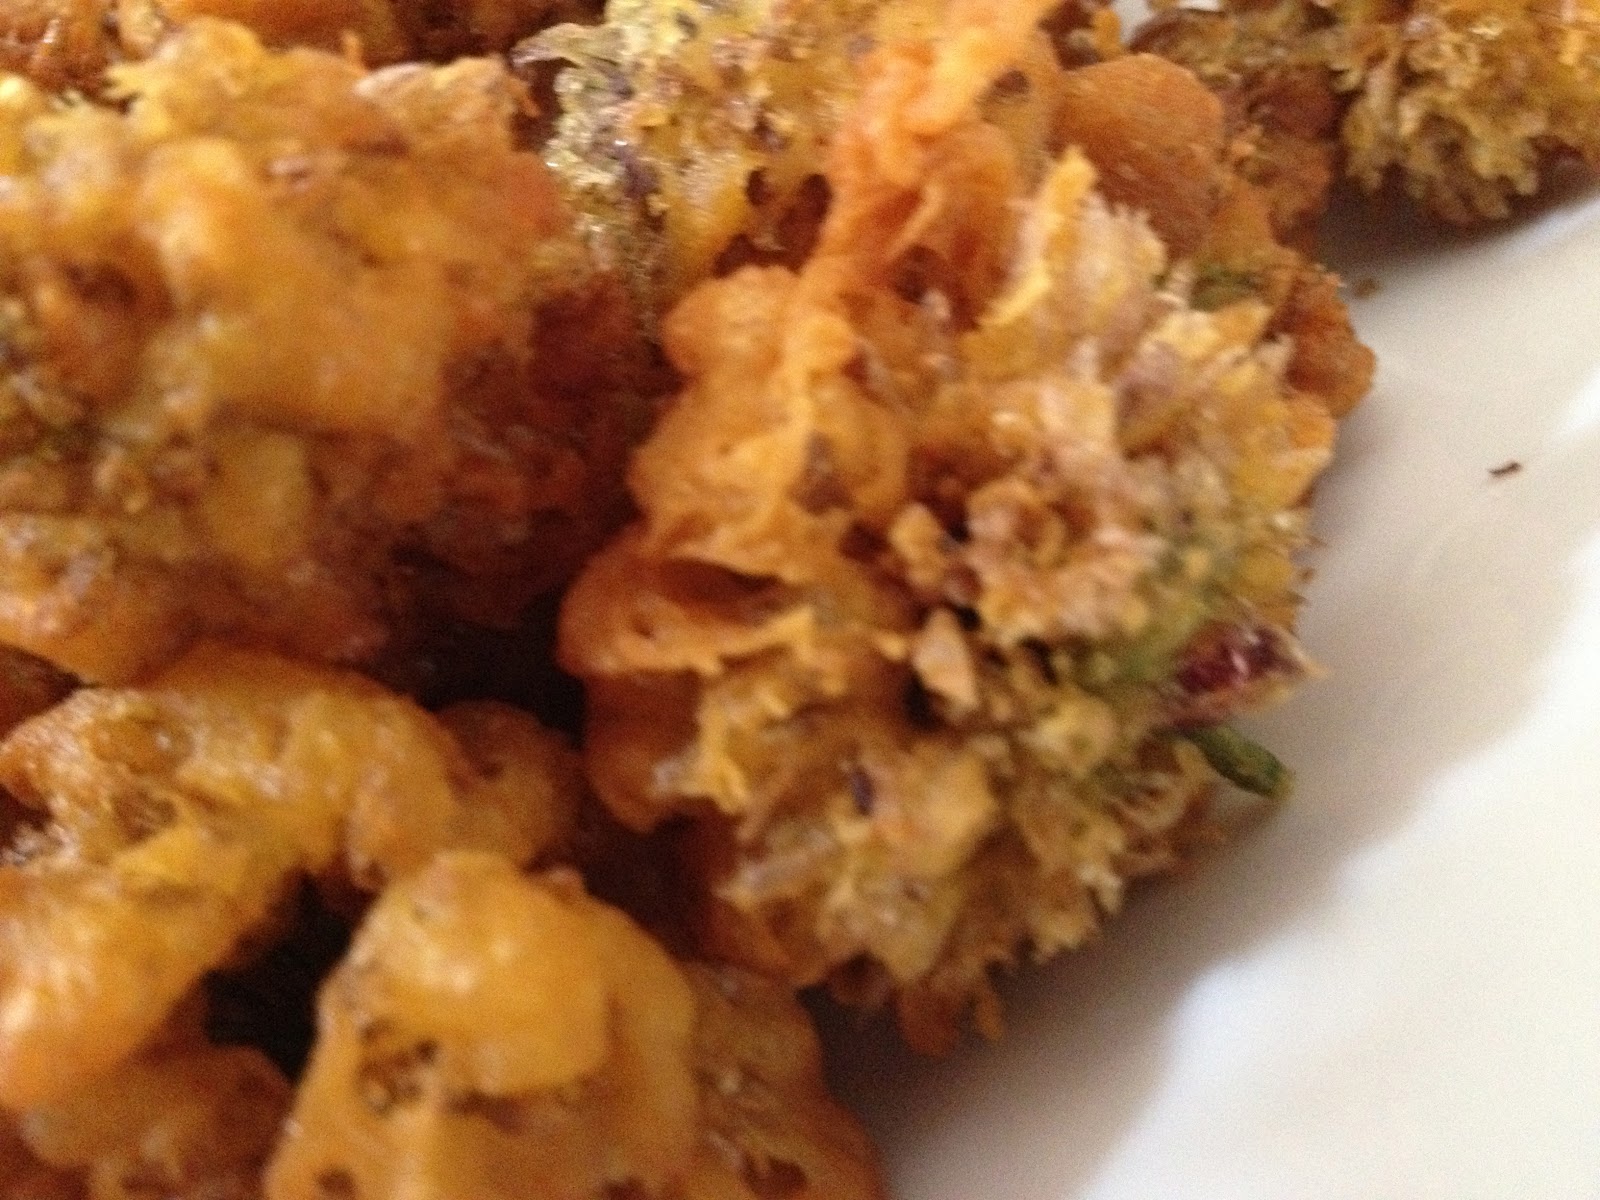
Sunday, April 29, 2012

Onion Flower Pakodas & Event Announcement


Onion Flower Pakoras AKA Vengaya Poo Pakoda
For those who saw these beautiful flowers as a garnish on my Paella Primavera post, this time I decided to use them in pakodas - just like I had used Zucchini flowers for bajjis last summer when we had Zucchinis coming out our ears :). This beautiful purple flower resembles a mum and is as potent as its stalk (green onions) and its bulb which is the onion itself - I guess it takes a while for these plants to mature enough to put out flowers, since these are  from the crop we planted last year. Hubby dear has been busy making me my veggie garden - my horrible allergies prevent me from being too active outdoors this time of year - and I am eternally grateful to have married this wonderful man who not only LOVES pottering around the garden, but has the greenest thumb


Onion flower/Vengaya Poo
Spring Onion stalk
Method:
For these pakoras, I used the simple, standard method of mixing equal proportions of besan (chickpea flour) and rice flour.
Ass asafetida (just a pinch) some sambar powder/curry powder for spice and salt
Wash these beauties well and dab dry with towel or wash before hand and allow to dry naturally
Heat oil to fry
Dip the flower into the batter and fry
Drain excess oil from the pakoras with paper towels
Serve hot by itself or with some ketchup

Close up :)

And now, I am happy to announce that my Blog is hosting the Bake Fest this month of May - This event is a brainchild of Vardhini of Zesty Palette/ Cook's Joy- Look forward to all your entires
1. Send in any recipe which has been baked / broiled.
2. Only vegetarian or vegan recipes please. I normally accept eggs in baking and hence eggs are allowed.
3. Usage of the logo is appreciated as it helps spread the word.
4. Link to this event announcement and Vardhini original Bake Fest announcement is mandatory. If sending an old entry, it needs to be re-published with the links.
5. You can send in any number of new entries and a maximum of 2 old entries.
6. PLEASE ONLY USE LINKY to submit your entries (no email entries please!!!)


Thursday, April 26, 2012

Paella Primavera

Paella Primavera 

A paella? I thought that too although I knew it was a "famous" spanish dish and I sensed it was pretty "fishy" - So I never bothered to venture into that area at all - Until I got a recipe from Vegetarian the magazine and I must tell you, this was an extreme surprise and an uncontrollable delight - It was a veggie version of the Paella - that's right folks, no squid, octopus or any other sea creature in it - my heart danced, really - and i was thinking if I am describing this dish to a person who has no clue what a paella is, what would I equate it to? In Indian terms, I would say a flavorful biryani or pulao/pilaf -

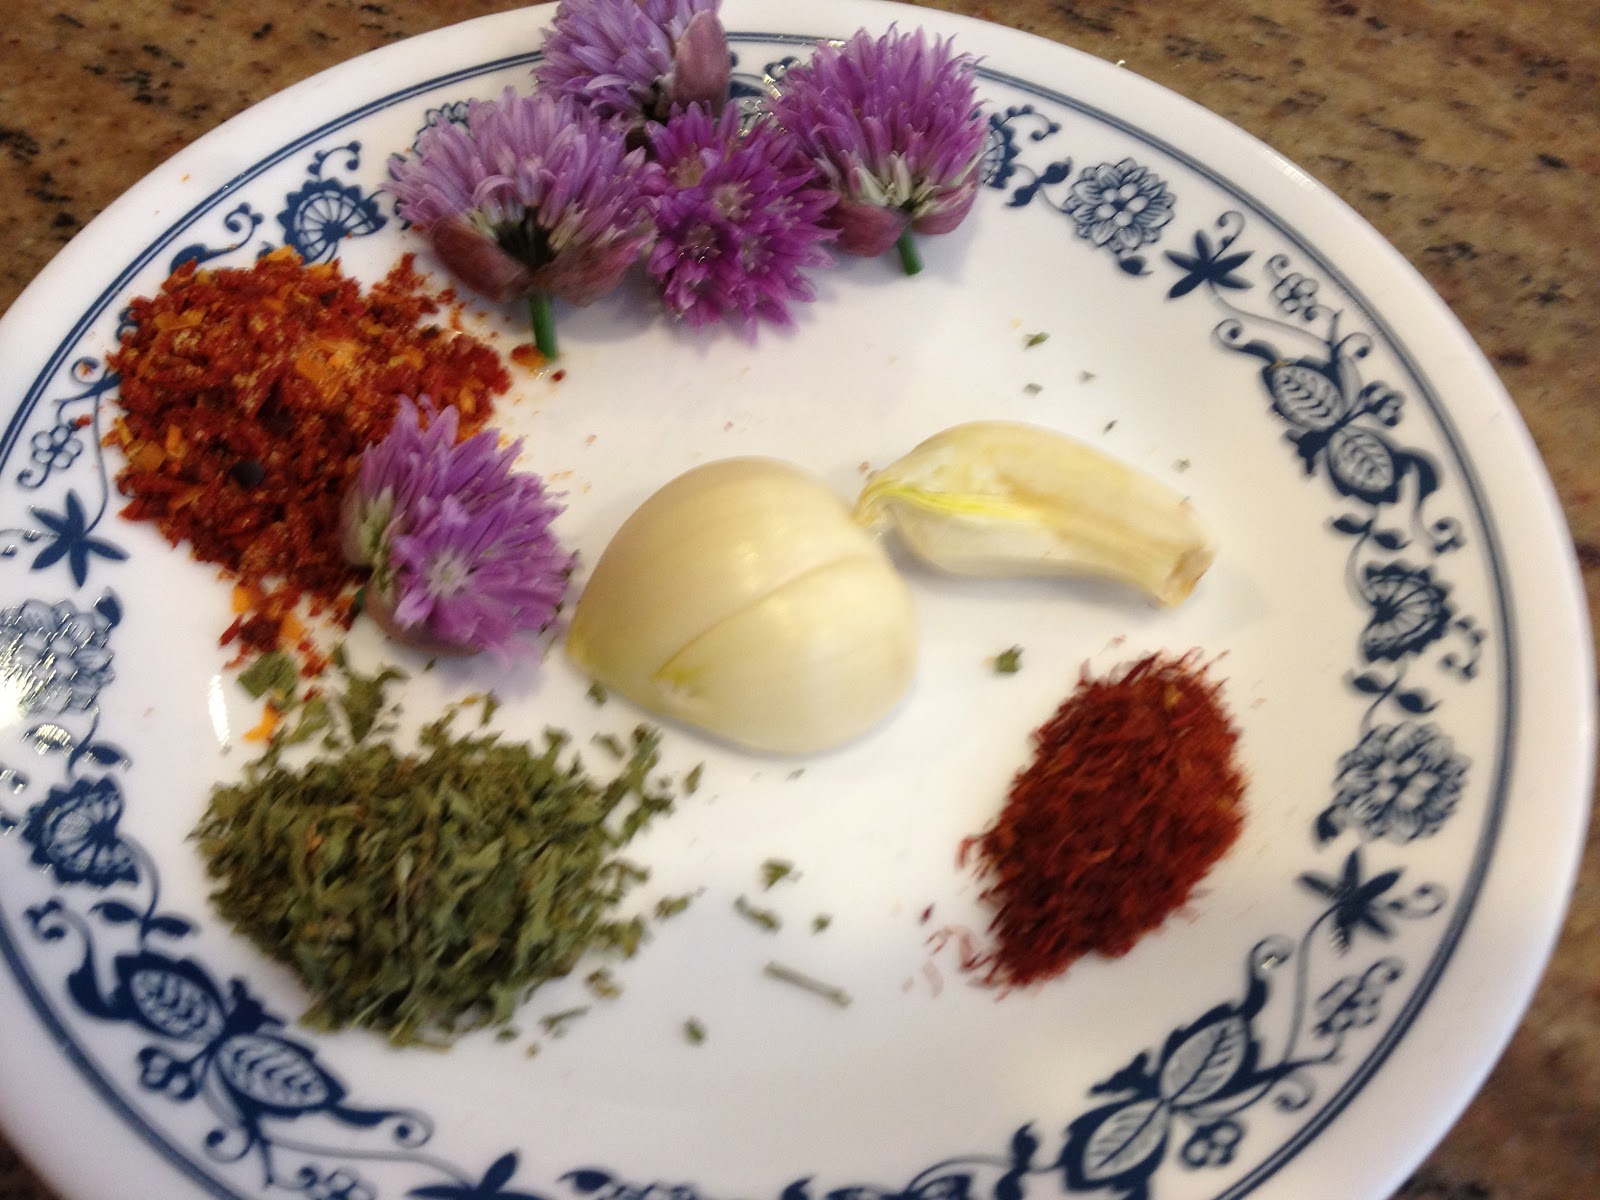
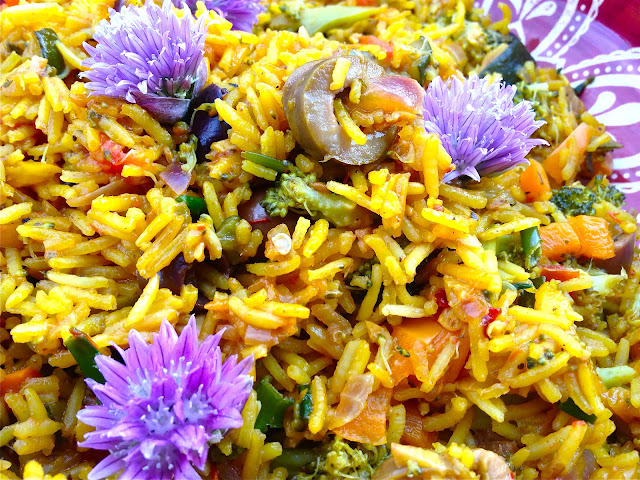
We all know Spain is the capitol of Saffron, that exclusive and amazing spice which we Indians have verily adopted into our cuisine - Or perhaps Saffron has also been a spice that was used widely in India - whatever the case, it is in fact the essence of this flavorful rice dish.  As my luck would have it, my beautiful onion chives have these violet blossoms on them right now. Not too long ago, I read that these blossoms can be used as a pretty and edible garnish - And this is exactly what I did. I LOVED the colors of the paella and cannot wait to make it again, when my family visits me - MIGHT I ADD That the flowers carry the same fragrance as the onion and have the same sharp, glorious sting on the palate that the onion has! 


It will be my "showoff" dish for sure :)


Here is the recipe

Ingredients

2 cups of broccoli florets
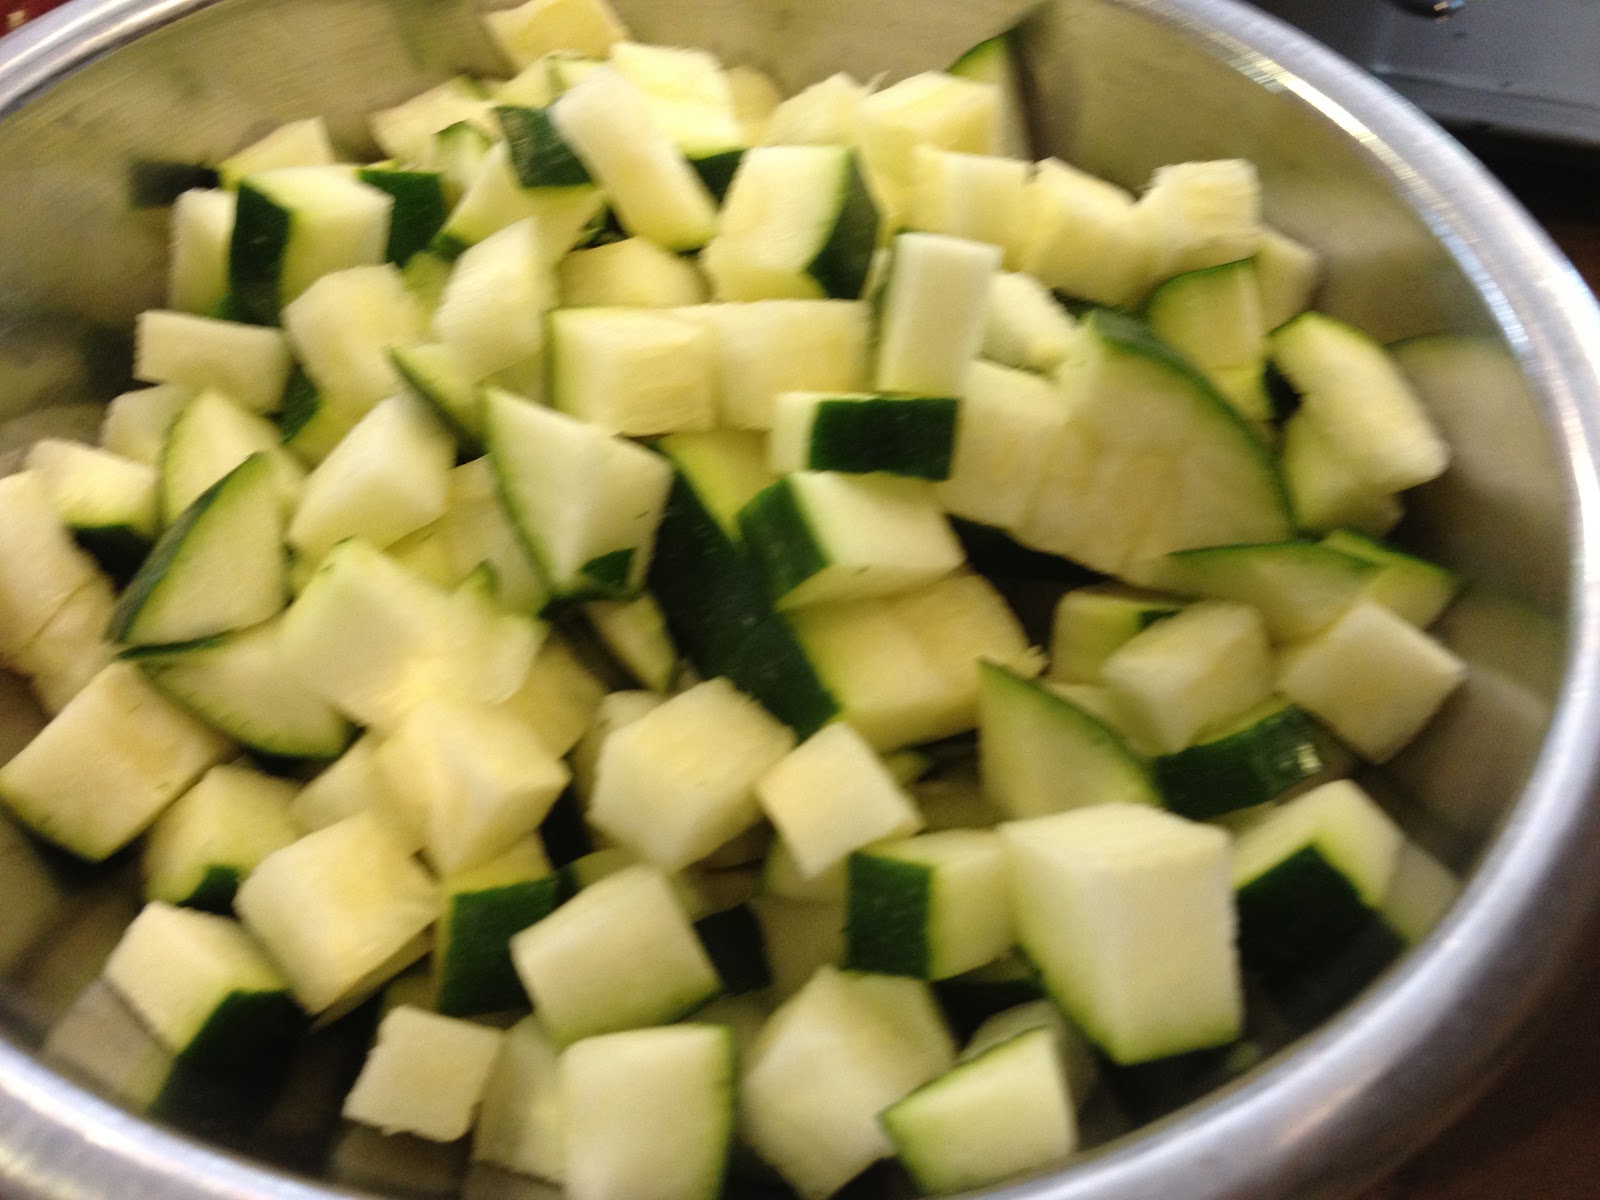
1 diced zucchini
1/2 red onion finely chopped (optional)
1/2 each of orange and yellow peppers (you can sub with red and green too)
1 cup of spanish rice (I subbed with basmati) essentially, you need a short grain white rice.
1.5 tsp of crushed saffron
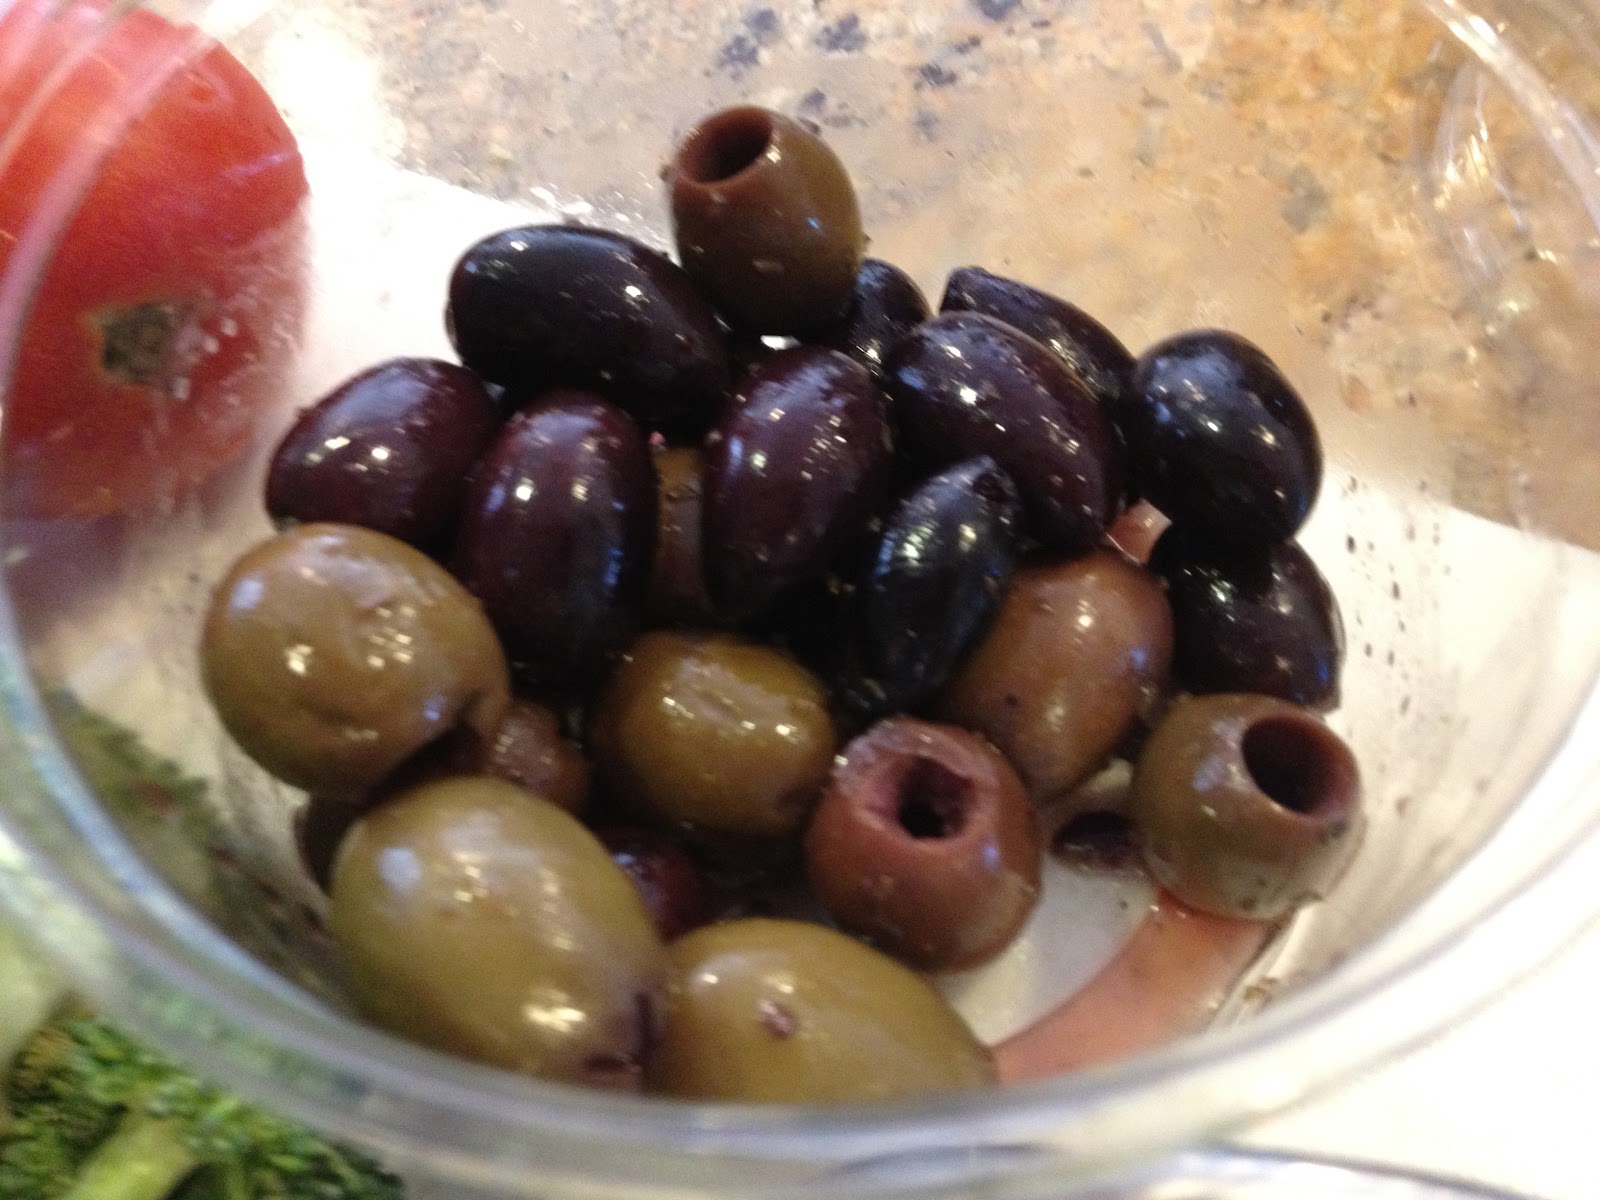
10 green olives, pitted and chopped
10 red olives, pitted and chopped
cherry tomatoes (about 10 if available) OR
2 finely chopped romas
3 big cloves of garlic
1/4 cup of finely chopped onion chives
2 tsp of olive oil
2 tsp parsely
1 tsp of patatas bravas mix or essentially paprika (cannot help it - need a bit of spice)
salt and pepper after cooking and before serving
Water - about a cup (use discretion as different rice cook differently)

Preparation

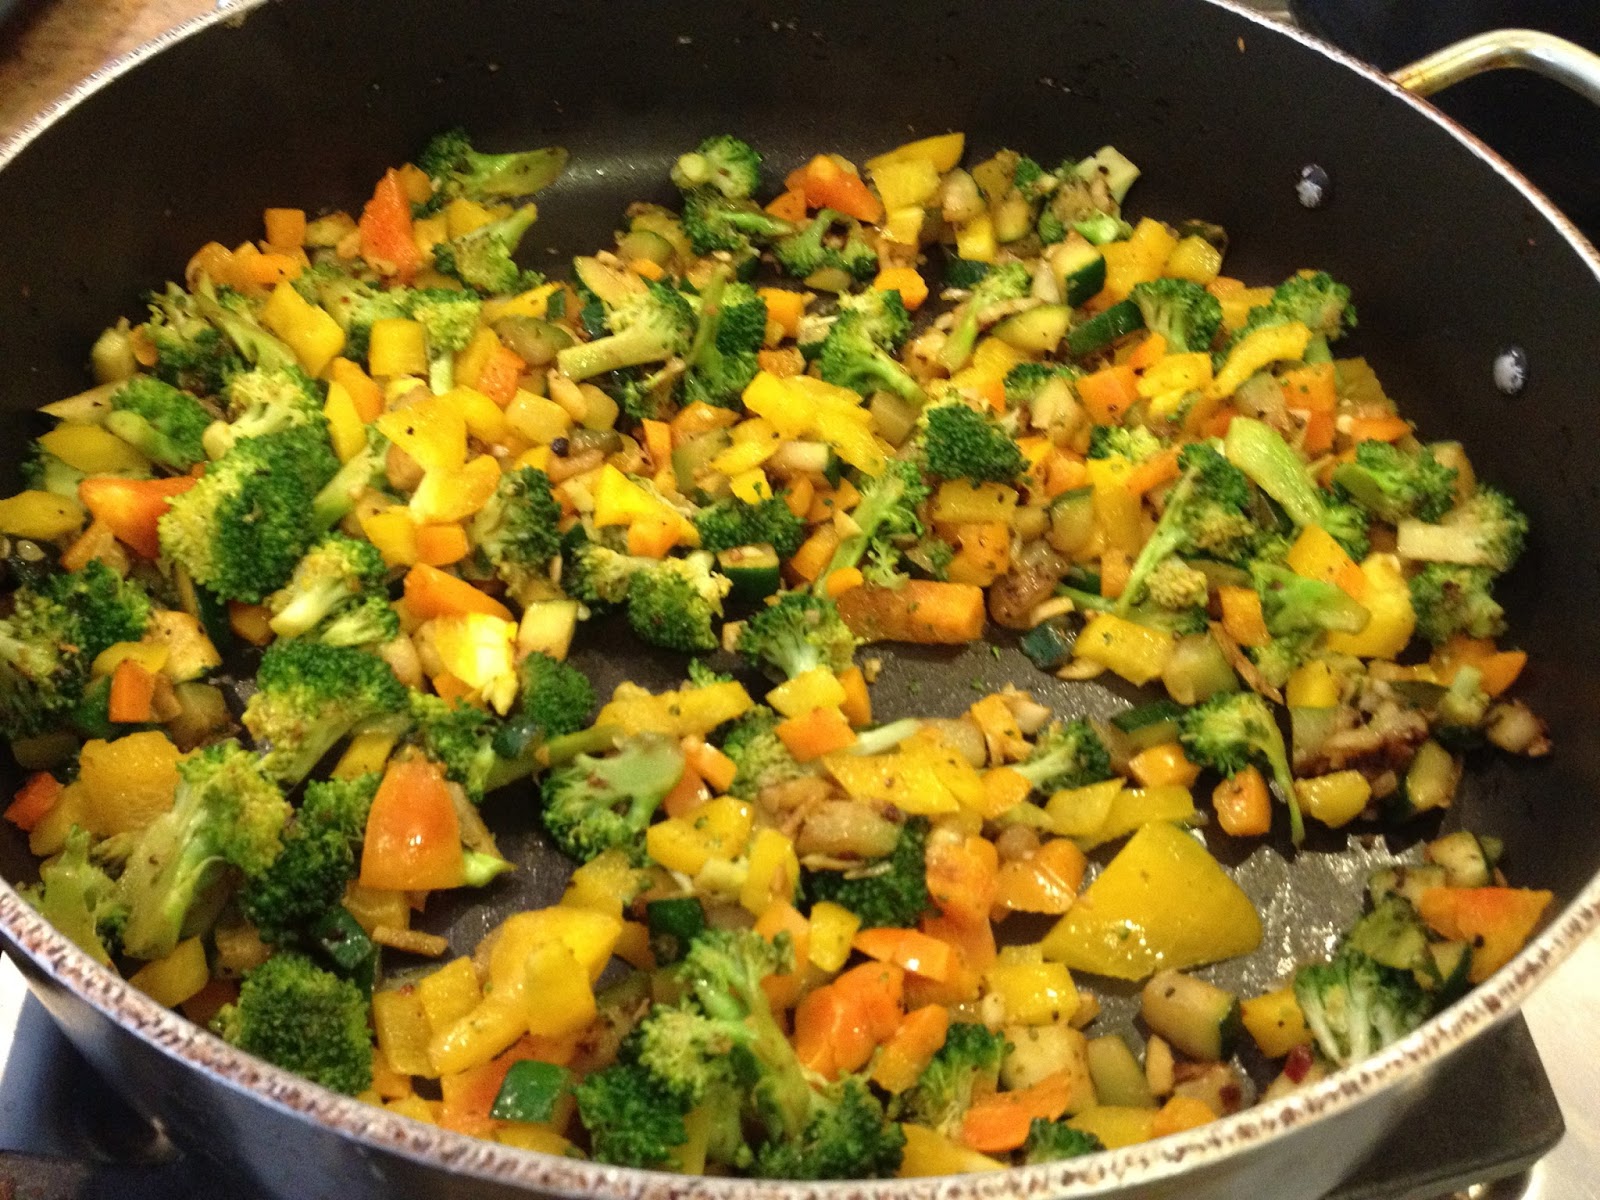
  • In a wide mouthed pan (banali) which is the traditional utensil to cook a paella in,  add the oil, onion, broccoli, garlic, Zucchini and peppers and cook for 2-3 minutes - At this time throw in half the parsley too.
  • Add 3/4 cup of water along with the washed rice
  • To this, add the saffron and allow to cook covered on medium low flame for 10 minutes
  • Add the olives, chives and tomatoes and cook for another 5 minutes covered.
  • Remove from flame. Transfer into a serving dish  and garnish with the remainder of parsley, salt, pepper and onion flowers if you can find them :)


Congratulations! you've just made yourself a fine Spanish dish :) PLEASE try it and let me know!
Thought for the Day - Keep expanding your horizons whether in your culinary department of any other. 
Love until the next post

Monday, April 23, 2012

Cashew Chutney & Onion Chutney

Chutney

A cold and dreary day with much needed rain - I've learnt to appreciate rain a lot more after we moved her to well water - every mm counts. We have had several summers where water curfews were imposed when watering the lawn was an indulgence not to be exercised.  But a rainy day always makes me hungrier for some reason and I want to make something that warms the cockles - Steamed Sweet Potatoes was what I settled on - Hubby dear comes home and asks me what I plan to make with it - as a sort of spread - my mind sifts through the chutney spread files that are stored away in the brain, but I thought I'd make two chutneys - One I have made often - onion chutney and the other a variation of its more commonly prepared nut cousin, peanuts - And settled on cashews. Yes, that plan excited me. So I got to work and literally in 5-7 minutes, we were all smacking our lips after tasting this spicy, tongue-tickling oh-so nutty chutney - If you like nuts and cashews in particular, trust me my friends you will not be disappointed!

Cashew Chutney

Here is the recipe
3/4 cup of roasted cashews
5 green chilies
2 red chilies (dried)
urad dal 1/4 cup
olive oil- 2 tsp
salt to taste
Tempering with olive oil (1tsp), mustard seeds and curry leaves

Preparation
I first used 2 tsp to roast the urad dal and the chilies, like we normally do for any chutney and then threw in the cashews for a minute before removing from flame.
I ground it warm in my Magic Bullet into a fine paste and tempered it

Spread this over your steamed sweet potatoes - while the chutney has a fine kick to it, it is beautifully set off by the sweetness of the sweet potato.

NOTE: the guilt of fat from the cashews can be lessened by the fact that you have had a most satisfying and completely healthy meal for I recently saw on Dr. Oz - Here is the quote from his website

These nuts contain proanthocyanidins, a class of flavanolds that actually starve tumors and prevent cancer cells from dividing. In some studies, it’s been shown that eating 12 cashews a day can reduce your colon cancer risk.

There you go folks, the Ozacle has spoken :)


Onion Chuntey

Onion Chutney

1 med. sized red onion
4 red chilies
1 green chili
asafetida
olive oil 2 tsp
urad 2 tsp

Preparation
Fry in the oil all the ingredients and grind adding salt when you do.
Temper with the same ingredients as the above chutney

Enjoy mes amies.

Thursday, April 19, 2012

Kurukkan Noodles Upma (Ragi/Finger Millet)

Kurukan Noodles

Kurukkan noodles are made with red finger millet - It is highly nutritive with a high protein content. I have almost completely switched to making ragi Idlis & dosais at home. For some reason though, these noodles are NOT easily available in the Indian stores around where I live. So I have had to ask my mother-in-law to bring some for me from Canada. Ragi by itself has a slightly nutty taste like quinoa and needs no dressing up - But it is always good to throw in a vegetable or two to make it even more nutritious.  My little one loves baby carrots, so i chopped a few up and added it to my upma -
Upma the dish always brings to mind 2 people - One is my dad - he said the measure of a good cook is to be able to make a "rava or cream of wheat upma without any knots in it - soft, smooth and delicious - That has always stuck in my head and I do pride myself on making it just the way he likes it - sadly he didn't lived long enough to visit my home, see my as a married woman except during the wedding - But I do dedicate all my Rava Upmas to him :)
As for the second person, it is my husband's grandma - Paati - We'd been to Thirunelveli to visit her one time in 2000 during the millennium and at her age she was a mighty sprightly lady, drawing water from the well at 4 AM to heat water for us to bathe. She made us a Daliya or Cracked Wheat Upma - It was fragrant with lots of ghee (:) hospitality is meant to fatten you up, right? She had also added some freshly grated coconut (this is Thirunelveli afterall, so no dearth for fresh coconuts) and I LOVED a dish that I had hitherto always resisted.

My mother-in-law introduced me to these noodles - and ever since we have loved it. This upma joins the ranks of the bigwigs in the Upma category - Rava, Vermicelli, arusi, daliya and yours truly Ragi :)
SO easy to make and So light and wonderful on the stomach.

Prepration
They come in packs
1 use a whole pack for family of 5 and some leftovers - but half should suffice if it is a lunch/brunch dish
and # of persons of course.


  • Like upma, temper in 2 tsp of oil of choice some mustard seeds, asafetida, urad dal and curry leaves and 1-2 green chilies - depending on their intensity.
  • Once the mustard splutters and the urad turns golden, add 3 cups of water with some salt
  • Bring to boil before adding the noodles (I do not roast them)
  • All the ingredients are in now so all it needs is to cook so keep it closed and the heat in medium
  • This will take about 7-10 minutes.
  • Around the 7th minute, open the lid and allow the excess water to evaporate
  • I always like some nuts in my upmas so I think I added cashews or chipped almonds
  • Drizzle 2 tsp of either sesame oil or olive oil or butter on the top  and give it one stir before serving. I made some red bell pepper chutney to go with it. I had also made vadais that day - can get a peek of it on the plate :)

Kurukkan Noodles 2

Happy weekend lunching folks :) 

Monday, April 16, 2012

Rainbow Cake

Cake
Outside decoration with edible markers
A baby shower in Spring - Colors around the house so vibrant and inspiring - A rainbow cake it is, i decided having not so long ago seen this one! I also tried the cake recipe from the same blog!  Here was my chance to experiment with natural colors - You may recall my Rainbow Cheesecake, which I made with food coloring a milestone post of mine - This time I decided I would make it a lot healthier - as cakes go - and used a bunch of different coloring agents for this purpose - Also with my cheesecake, we poured the colors one after another from the middle and had them spread to the sides - whereas these are individual cakes that make up the rainbow.

Here are my coloring agents
Freshly Juiced blackberries 2-3 tbsp
Freshly juiced Strawberries 2-3 tbsp
Freshly juiced blueberries 3-4 tbsp
Freshly juiced carrot  - 3-4 tbsp
Freshly juiced Spinach -3-4 tbsp
Saffron for Yellow - 6-8 threads
Rose Syrup (from Indian Store) for bright Rose
NOTE: All the colors get twice enhanced when they are baked - so don NOT be disheartened if the colors appear pale as you mix them in - I was a bit concerned but got with it soon enough :)

I would follow the white cake recipe from Joys of Baking or another renowned site - the cake that went with this recipe tasted awesome, but they initially dried up a bit and I fixed it by using sugar and evaporated milk - The end result was incredibly soft and completely flavorful cake - The Vanilla extract completely camouflages any smells of the spinach.
It was so much fun making the buttercream - I was blown away by how much was required and how labor-intensive a cake such as this one can be - But we do not make rainbow cakes everyday  and even one color at any given time will suffice -

Our cake expert, Anita Gupta gave me the recipe for the buttercream
Here it is  -
  • 5 large Egg whites beaten to stiff but not dry peaks
  • 1 1/4 cup Granulated Sugar
  • 1/3 cup water
  • pinch of Cream of tartar 
  • 3 sticks (12 oz.) salted butter cut into small pieces, semi cold
  • 2 teaspoons Vanilla
  • 1/2 capful orange extract

Instructions


  • Cook sugar, cream of tartar and water in a small saucepan over medium high heat, stir until sugar dissolves and syrup begins to boil. Cook to 240 degrees. Remove butter from fridge while syrup is cooking, set aside
  • Cut your butter into small pieces and leave in fridge while cooking syrup. 
  • Beat the egg whites in KitchenAid bowl with wire whisk attachment. Stiff, but not dry peaks.Turn mixer speed to medium low and pour the cooked sugar syrup at a steady stream, not too slow but not all at once either. Pour between the beater and the side of bowl to prevent splashing. Turn mixer to high speed and beat until the outside of bowl feels cool to the palms of your hands. 
  • Change to the paddle mixer attachment, turn speed to medium low and add butter a few pieces at a time till it is all used and begins to combine, turn mixer speed to high and beat until the outside of the bowl feels cold to the palms of your hands and mixture has begun to come together, looks fluffy and shiny. Add the flavorings and beat till well combined.If mixture looks curdled or separated it may be because the syrup wasn’t cooked to 240 degrees, you pour the cooked syrup in too quickly, or you added the butter too quickly and it may have been too warm. It needs to have a slight chill to it. 
  • You can still salvage the icing, continue to beat on high speed until it comes together and is fluffy. If you end up with a soupy mixture at the bottom put the mixer bowl and paddle attachment in the fridge for about 10 minutes. Beat again on low speed until it begins to come together, than turn speed to high and beat until fluffy and shiny.
Now for the pictorial


Rainbow cake collage
Follow recipe to make cake batter  - add the color to it
Cakes
Fresh from the oven


cakes dyes
The flavors

Cake
The stack before and after torting (looked like a leaning power of Pisa before being sliced down the middle yielding 2 mega cakes :)

Rainbow cake
Torting is slicing the cake down the middle - can be done with dental floss  
Torting the cake with a dental floss -this is a superlative and stress free idea - You must try it!
Cake
The buttercream

With a wedge cut off - first glance at the result
Thankfully a piece got photographed!! :)

To top this we were blessed with a real rainbow (I call it Shrey's rainbow since she spotted it and was SO excited to be the one to ) 
Untitled
Ended up being a double rainbow -to match the 2 cakes - what are the odds ;)
rainbow
The second rainbow is clearer in this one!
This was a wonderful experience and I got to do it with a friend which made it all the more doable :) These are projects to do with a friend or family member - the experience becomes that much funner!
Adios Amigos until my next post!

Wednesday, April 11, 2012

Cucumber Rasam

Cucumber rasam
Cucumber Rasam
A long unprecedented hiatus from my blog – My mind has been overused by too many other things happening in my –as in – my children’s lives, I have not had a moment to stay focused enough to let any creative juices flow, a writer’s block so to speak. But I did have a fabulous vacation with my family when we got to relax without having to plan the next meal, the next drop off or pick up, pick up groceries and the other million things we normally have to do in our busy “American” mommy lives! But the next ailment is my extreme allergies to pollen in the springtime that shuts me down completely, especially since I have to be on many medications to keep myself afloat!  Thanks to all those who sympathized with me on FB when I posted those God Awful pictures of myself with my blood-shot eyes and Rudolph like nose! 
I have SO many recipes in my drafts it’s not funny and like any scaredy cat, I was afraid to even look to see what to blog, because the task seemed too daunting. But here I am with a couple of recipes I’d like to share _ The rainbow cake which I will get to second; the first is my Cucumber Rasam.

This was a lazy person’s idea to finish the cucumbers we’d bought earlier last week – Raita would mean some exotic or some other main dish – with my nose dripping and eyes watering, standing in front of the stove is the last of my desires, trust me.

I washed peeled, cut and ground the cucumbers with a cup of water
I added 2 tbsp of lemon juice (from a bottle) and some salt
So far, so good!
Then I took a 1-1/2 tsp of rasam powder, added half a cup of water and let it boil for a good long time so there would be no rawness to it
I added this to the cucumber juice and stir it in
As is the way, I tempered with some sesame oil/butter some cumin seeds, mustard seeds and curry leaves.
I also garnished with some cilantro.

It tasted AWESOME

NOTES:
Never heat up the cucumber juice
If serving with rice, ensure the rice is piping hot to compensate for the lukewarm rasam
Refrigerate if you want to have it as a soup -which I did
cucumber rasam

Hope you will try to make this rasam and enjoy it as much as we did. I will be back by the end of the week with the cake – Promise J


An appeal to all my blogger friends - I would like to hopefully restart commenting on all your recipes - but please help by getting rid of word processing that blogger has made even more difficult now - It takes time and acts as a disincentive - You can always control the contents by saving the comment to publish after you have seen them - thanks y'all and love ya!