Showing posts with label Breads. Show all posts

Wednesday, June 12, 2013

Paneer Parathas


The kids are home. It is the summer vacation - One is sick, the other volunteering and the third chilling with me! I am on FB and checking out my updates as I hear "amma, what's for dinner" queries brewing in the background. I lay my eyes on some mouth watering paneer parathas that our blogger friend Divya or ChefinYou has posted. She is a versatile chef and has many interesting tips on her page, as I did find out clicking on to her blog. I was making karela subzi anyway and I thought this would make a great combo! It does not take beyond 15 minutes for prep time (she was not kidding) and beyond 20 to make about 10 of these delightful parathas. My kids, mother-in-law and hubby loved it. Will be blogging the Karela subzi next.

For about 10 partathas

Ingredients

2 cups of chakki atta (stone ground wheat flour)
11/4 cups of warm water
1 tsp of salt
2 tsp of oil

(I used my mixer to make the dough)


For the stuffing
1 cup of cubed paneer
3 green chilies finely chopped
1tbsp of fresh cilantro


Method

I did as Divya suggested
I Soaked store bought paneer in hot water, drain after a few minutes and proceeded to crumble it 
Knead or use mixer to make the dough soft, yet firm 
Keep covered until you get the paneer crumbled, salted, and chilies and cilantro added
Make lemon sized balls of the dough
Roll out into rounds bigger than your palm, as Divya puts it
Make a smaller ball of the paneer and place in the center of the rolled out dough
Fold the dough over the paneer ball and pinch out any extra dough
Dust the rolling area with flour and roll out the paratha to the size of a tea saucer
Heat pan and add a smidgen of butter
Place the paratha on the melting butter and cook - repeat on both sides and with each

Serve hot with sides of your choice - In my case I made some incredibly tasty Bitter gourd masala subzi - heavenly!!!
Sneak peak of next post


Enjoy and thanks Divya :)

I will leave you also with this wonderful declaration made by my little one


Saturday, March 16, 2013

Goat Cheese & Cilantro Spread (Kothamali Chutney)(East meets West)


This is a true fusion recipe which brings together the best of the west and the east - Cheese (all kinds) has pervaded the Indian cuisine for a long time now - With this recipe, I bring to you a traditional south Indian chutney made with cilantro and red chilies and other flavors (see recipe below). With adequate spicing, this chutney can easily be blended into a creamy goat cheese to make a fine spread for veggies or crusty warm bread.

Another post for Avant Garde Cookies, this is a spread which can be whipped up at short notice

Cilantro Chutney


Ingredients

4 bunches of fresh cilantro, pre-washed and stems removed
2 green chilies
2 red chilies
1 tbsp urad dal
A pinch of asafetida
¼ tsp of tamarind paste (optional)
2- 3 tsp of sesame oil
2 tbsp of water


Method
Sautee the urad, chilies, asafetida in the oil.
Add the cilantro leaves and cook for a few minutes until the water has evaporated.
Add the tamarind paste and mix it in well to the leaves.
Cool and grind, using very little water

For the Spread
1 Ounce of goat cheese
2tbsp of chutney

Method
Whisk the cheese into the chutney and keep refrigerated until use. Enjoy with raw veggies or over toasted bread or pita or as a spread for a sandwich


Tuesday, January 15, 2013

Khobz - A Delicious Moroccan Bread

Khobz 


Happy Kanu Pongal to all - feeling quite under the weather - I had contracted Lyme Disease a few years ago and the recurring effects of it are joint pains - My knees are begging for mercy from a sharp shooting pain that has ruled my life for almost 24 hours now! I am quite sick of taking Advil and have resorted to arnica - hoping to get an acupuncture appointment for it Sigh! feeling better after off loading some of my woes!

I had made this bread several weeks ago but it is good I held back posting it for this week with the Avant Garde Cookies, we are making breads - And this is a wonderful addition to any dinner table. Not much different from any other bread in so far as the recipe goes, what sets this apart is the incredible crustiness of the outside shell and the incredible softness of its inside.

How it came about
We had gone to a local Moroccan restaurant, one that has apparently been around for over 3 years and this was the first time we'd paid attention. The food was not great, but good. However, what had me raving was the Khobz - it was out of sight yummy. I did talk to the chef and owner about it and he did not really reveal the recipe, but said it needed a lot of kneading.

More internet searches reveal recipes that were not any different from any other kind of bread. So I took the chef's word for it and kneaded it for an extra long time in my mixer. The other trick was to use lesser water and keep the dough somewhat tough. I did use 1 tbsp of olive oil. While mine was really tasty and well-received, I know I "knead" a lot more to get the same great bread from the restaurant - practice maketh perfect -
One last hint from the chef - rewarming the bread also gives it the crispiness on the shell and the softness inside... so go ahead and give it a try -If nothing else, if you are in Morocco sometime, you'll at least know to order khobz :)  Presenting Khobz

Khobz as explained by about.com

Moroccan and Standard Arabic: الخبز
Khobz is the Moroccan and standard Arabic word for bread. TheTamazight (Berber) word kesra and Tashelhit (Shilha) word agroummight also be used, as might the French word pain.
Although khboz and kesra may mean different things to different Moroccans, both terms are used in a general sense to refer to oven-baked bread which is shaped into round, flattish loaves with lots of crust. During a traditional Moroccan meal, khobz often replaces utensils such as forks or spoons as it is used to scoop up meat, vegetables, sauce, salads, dips and more.
Different types of flour can be used to make khboz. Exactly what goes into each loaf, and how large or small it is shaped, is a matter of personal preference. White, semolina, wheat, rye, bran and barley are some of the flours that might be used, while anise and cumin seeds are just two additions that could be added for extra flavor.
In rural areas, many families use small dome-shaped wood burning ovens to bake their bread. In urban areas, families might opt to bake their bread do so in public street ovens. Both methods give bread a unique flavor and character that simply can't be matched in a conventional oven or by Moroccan bakeries. Nonetheless, very good Moroccan bread can be baked in home ovens, and it's worth trying to make your own bread to complement a Moroccan meal.
Recipe is replicated from About.Com - thank you!


I added some thyme and moroccan spices for flavor


Allow 1 hour rising time. Yields two 8" to 9" round loaves.

Prep Time: 20 minutes

Cook Time: 25 minutes

Rising time: 1 hour

Total Time: 1 hour, 45 minutes

Ingredients:

  • 4 cups white flour
  • 2 teaspoons salt
  • 2 teaspoons sugar
  • 1 tablespoon yeast
  • 2 tablespoons vegetable oil
  • 1 1/4 cup warm water
  • additional flour for kneading
  • cornmeal, semolina or oil for the pan

Preparation:

Prepare two baking sheets by oiling the centers, or by dusting the pans with a little cornmeal or semolina.
Mix the flour, sugar, and salt in a bowl. Make a large well in the center of the flour mixture, and add the yeast.
Add the oil and the water to the well, mixing to dissolve the yeast first, and then stirring the entire contents of the bowl to incorporate the water into the flour.
Turn the dough out onto a floured surface, and begin kneading the dough. If necessary, add flour or water in very small amounts to make the dough soft and pliable, but not sticky. Continue kneading for 10 minutes, or until the dough is very smooth and elastic.
Divide the dough in half, and shape each portion into a smooth circular mound. Place onto the prepared pans, and cover with a towel. Allow to rest for 10 minutes.
After the dough has rested, use the palm of your hand to flatten the dough into circles about 1/4" thick. Cover with a towel, and leave to rise about one hour, or until the dough springs back when pressed lightly with a finger.
Preheat an oven to 435°F (225°C).
Score the top of the bread with a very sharp knife, or poke the dough with a fork in several places. Bake the bread for about 20 minutes – rotate the pans about halfway through the baking time – or until the loaves are nicely colored and sound hollow when tapped. Transfer the bread to a rack or towel-lined basket to cool.


Thursday, September 13, 2012

Fabulous Focaccia my ‘Whey’

Oven ready

Today it is my pleasure to WOW you with my protein rich, colorful focaccia. Pronounced Fo-Ka-Cha
Pari of Fooddelicious had this ever so tempting post on her blog last week and I knew I simply HAD to make it – I had all the fresh home grown ingredients for it and I said, hey, let’s do it and I did. It turned out to be a phenomenal success (which is measured in how many minutes it takes to get devoured by my kids) and truth to tell, I am happy I got a minute to take the pictures before my kids went gung-ho with it.I had some when sitting around in the fridge left over from making some paneer. I used it in a couple of ways: one in the soup I made to accompany the focaccia and two, in the focaccia itself. While the taste did not change any, it felt better that with the carbs, there was also some protein. If you are a vegetarian, you know how difficult it is to avoid carbs – even if you are seeking the complex kinds. Anyway, without further natter, I present to you my fresh, really fresh, Focaccia
Baked to a nicety!

Ingredients

For the dough
  • 3-4 cups of bread flour ( I used King Arthur’s unbleached bread flour)
  • 1tbsp of instant yeast
  • 2tbsp crushed fresh rosemary
  • 1tsp salt
  • 1tsp sugar
  • 4cloves of freshly squeezed garlic
  • 2tbsp of olive oil
  • 1cup of warm whey (I subbed whey for the water which is the original way to go - Curd or milk would also be a good idea should you want to try)
  • 2tbsp warm water
  • Some more warm water as need to get the right consistency

Home grown tomatoes, onions and Rosemary

For the Garnish
  • 1 cup of cherry tomatoes (any kind)
  • 2 sprigs of Rosemary
  • 1-2tbsp of olive oil
  • 3small onions diced
  • 2tbsp fresh garlic chives, chopped
Method
  1. In 2tbsp of warm water, add the sugar & yeast and allow it to froth
  2. In the meantime, combine flour and salt and all the chopped herbs and spices and mix dry
  3. Add the olive oil and mix
  4. Add the frothing yeast to the flour and mix in well
  5. Now add the warm whey and knead either in your mixer or by hand
  6. Knead until it is a smooth ball that lifts off without sticking to the sides of the bowl
  7. Put a plastic cover (I often use grocery bags) and let it sit for a couple of hours
  8. About 15 minutes before the dough time is up, chop your onions and chives
  9. Get your pan ready and sprayed and set the oven to 350 deg. F
  10. Take dough out and punch down to release the air.
  11. Roll or knead it out to the shape of the pan (I used a rectangular one)
  12. With the knuckle of you index finger, make dots or dips in the spread dough
  13. Brush with olive oil
  14. Arrange your tomatoes appealingly (:
  15. And you onions and chives
  16. Allow this to sit for about 20 minutes (keep covered if need be) This will help the dough to rise a bit more)
  17. Bake for 25-30 minutes, until you see that the crust is brown and the top is starting to brown lightly too.
  18. Remove, cut and eat…

Optional: grate some fresh Parmesan Cheese


A side view of the yummy crust

Hope you enjoy the visuals and please try to make this at home and show off to you family your gourmet chef qualities :) Adios amigos until next time


Sunday, August 12, 2012

Fresh Fig Chutney/Preserve

Fresh Fig Chutney

I wonder how the expression, I don't give a fig ever came about - were they talking about Figs or was that a short for figure as in number?  If they were referring to Figs, then they have indeed been overly shortsighted to have been so dismissive of this delicious and rather luscious looking and tasting fruit. I have known the delights of this fruit thanks to my friend who has this massive fig tree at her home and has been sharing kindly. Today I picked about two pounds (about 20-24 figs) came back home and decided to make something with it asap. And after sifting through a bunch of recipes, I settled on a Fig Chutney with the half and a tart with the other. Today I blog the chutney which I must say myself was absolutely amazing! Here is my recipe and some lovely pictures of the fruit


Ingredients
12 Figs black mountain medium sized
1 cup of honey
1/2 cup orange juice 
1/2 cup Port Wine
1tbsp unsalted butter
2 cloves (crushed)
3 black whole peppers (crushed)
1 tsp each of
crushed cardamom
all spice
crushed saffron
lemon zest
My Fig Face :p

Method
Wash and cut the stems of the figs before cutting them into quarters
Melt the butter in a heave sauce pan
Heat the honey until it becomes syrupy. 
Add the rest of the ingredients (except the figs)
All the all to thicken into a syrup consistency (about 10 -12 mins of medium heat gas flame)
Now add the figs and swirl syrup around or gently aid with ladle until the syrup covers the figs.
All this to simmer in medium low flame for about 18 -20 minutes depending on how ripe your figs are. 

Remove from flame And cool.
Bottling the preserve
I wonder why I do this since this yielded about 1/2 of the 1/2 liter mason jar or a little less and from what I heard after the kids tasted it, they were planning to make short work of it by tomorrow - glad I got the pictures in now -lol :)
Anyway,
Wash the mason jar and lids with soap thoroughly and rinse
Boil them for about 7 minutes in water
Remove with tongs and pat dry with paper towel and place on a sterile (or clean) surface
Cool the chutney and put in the jar
Seal tight. If the jar is full and you notice air bubbles, open the jar ensure that they are teased out before resealing.
If this is to be put away, boil water again and put sealed jar in and boil for 5 more minutes for the seal to set. 
Label and put away in the pantry - It will be good for a year of these instructions are followed.

Now for some pics :) And stay tuned for my Fig pie/tart


Wednesday, June 13, 2012

Stuffed Squash Blossom in Braided Bread


Since I am on a bread roll,  (lol) I thought I'd follow up my french bread post with my stuffed and braided bread - the one many of you good friends have given me the wonderful like sign for on FB:)
Keep the same bread recipe as my french bread - except after it rises the first time around
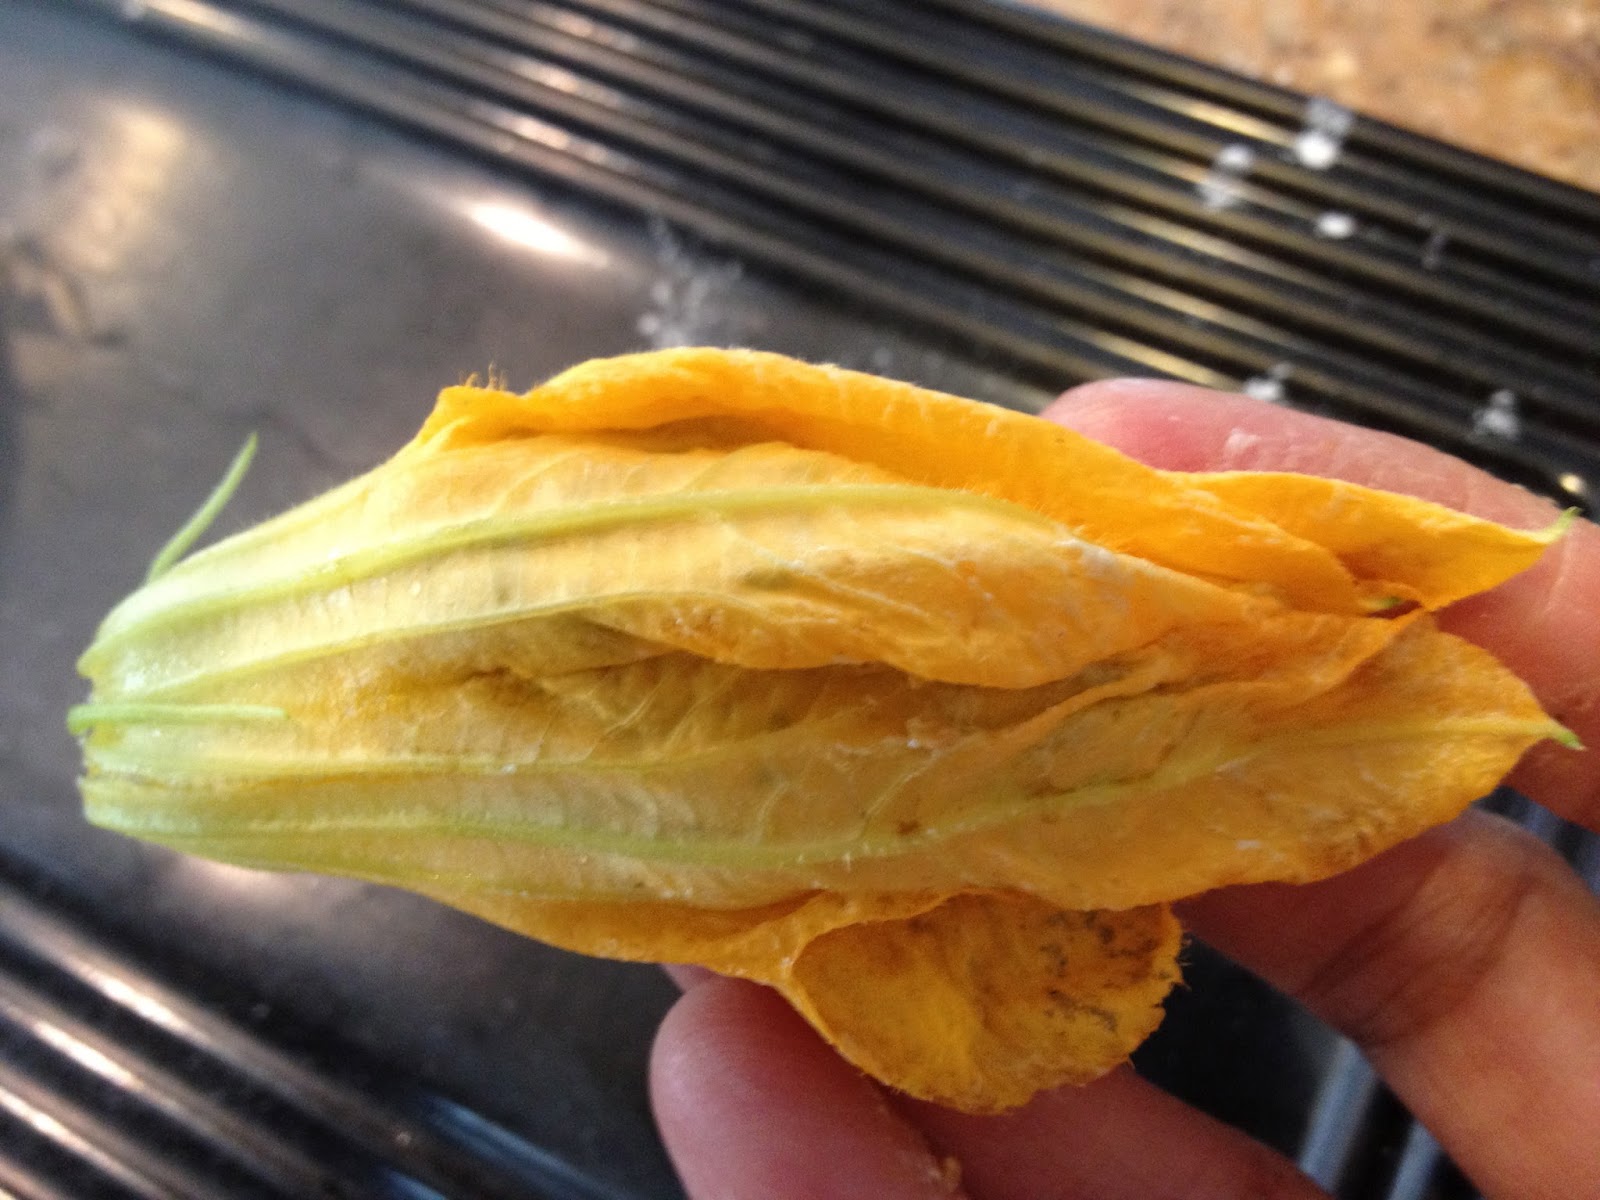
roll it out like a pizza crust. The rest of the recipe follows - this was another of my off the cuff ideas since It is that time of the year again when my veggie garden is profuse with squash blossoms - You may recall my zucchini bajjis from last year. I did not want to use the blossoms in the usual ways that have been recorded on the web. It is really easy and I would love for you to try it - Like all other works of art, this requires patience and that is no biggy for most of my creative friends, right? :)

Here we go!
Identify the male flowers and pick about 10-15.  Wash in gentle water and pat dry with paper towel - allow them to sit in a sunny part of your kitchen until you are ready to work with them

Prepare your bread dough. Let it rise for 2 hours

Ingredients for stuffing the blossoms

1/3 less Fat Philedelphia cream cheese - I used about 6 ounces of the 8 ounce box
Pesto (Mine was homemade and the recipe will be posted soon) about 4 ounces

Mix the two nicely and keep ready

Pick up the dry blossom, cut the back ends off with the stem leaving a small hole. Approach stuffing from the petal end which is wide and convenient - make sure you do not over stuff or push it too far towards the stem side hole.

Hold the flower and with a small spoon insert the cream cheese pesto mix (about 2 tsps). Press the petals close with your fingers. repeat until all flowers are filled.

When the 2 hours are up get the dough out and knead a couple of times . Split into 2 halves. I made a braided bread with one half and a plain loaf with the other.

Roll out the one half like you would pizza dough. Make sure the surface has already been dusted with flour before doing this.

Now place the blossoms gently and closely, facing opposite directions alternately (see picture below) .

Take a sharp knife and cut the sides into strips. The top and bottom corners will be slightly broader. Fold them in first, gently over the blossom. Then braid the rest of the strips, as shown in the picture.

Bake at 350 degrees or until brown at the top.
I hope you'll enjoy this!

Serve it hot :)

Stay tuned for my Masala Buns - which is the next recipe on my blog!


Homemade Pesto


I have truly made a better braid than this, but hey...