Showing posts with label Breakfast. Show all posts

Wednesday, January 29, 2014

Baked Zucchini Noodles with Pistachios and Sun Dried Tomatoes


Ever since I learned how, I have been making these and absolutely LOVE it  and make it at least once in 2 weeks - It is healthy, guilt free and what's more so tasty - dress it up with your favorite nut, some of your favorite cheese and if you want sauce and you've got yourself a wholesome no carb meal


For making these you need the sharp julienne peeler which will strip you zucchini into thin noodles - be mindful, these instruments are viciously sharp so please use caution while using it

How many zucchini's you use depends on how many people you are making for - I used 3-4 for  4 of us - While stripping, stop when you come to the seedy part of the vegetable. By then it will start breaking anyhow.

Instructions
Strip, arrange in a baking dish; crumble cheese, sun dried tomatoes and toss in some walnuts, some pepper - Do not salt now or it will become watery … salt before eating.

I broiled for 15 -18 minutes or until the cheese has melted - BTW, I used some goat cheese. SO GOOD!

Enjoy and repeat :)


Wednesday, April 17, 2013

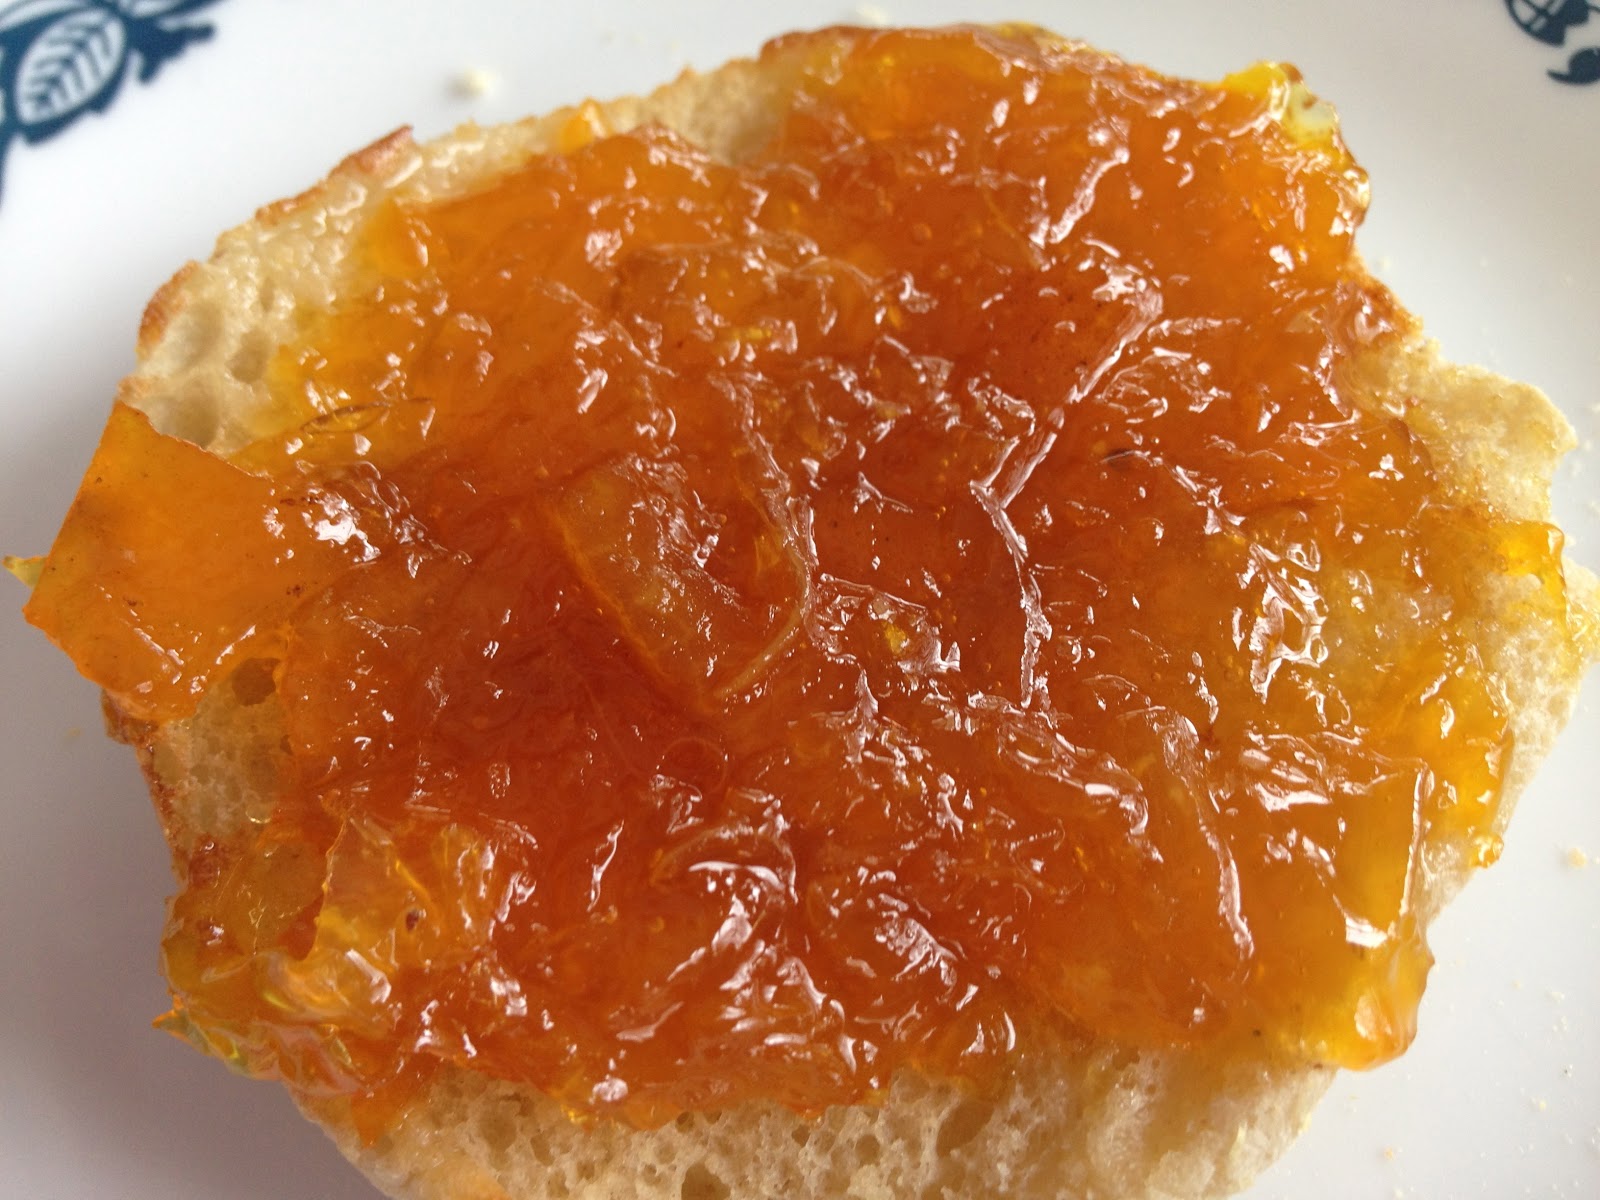
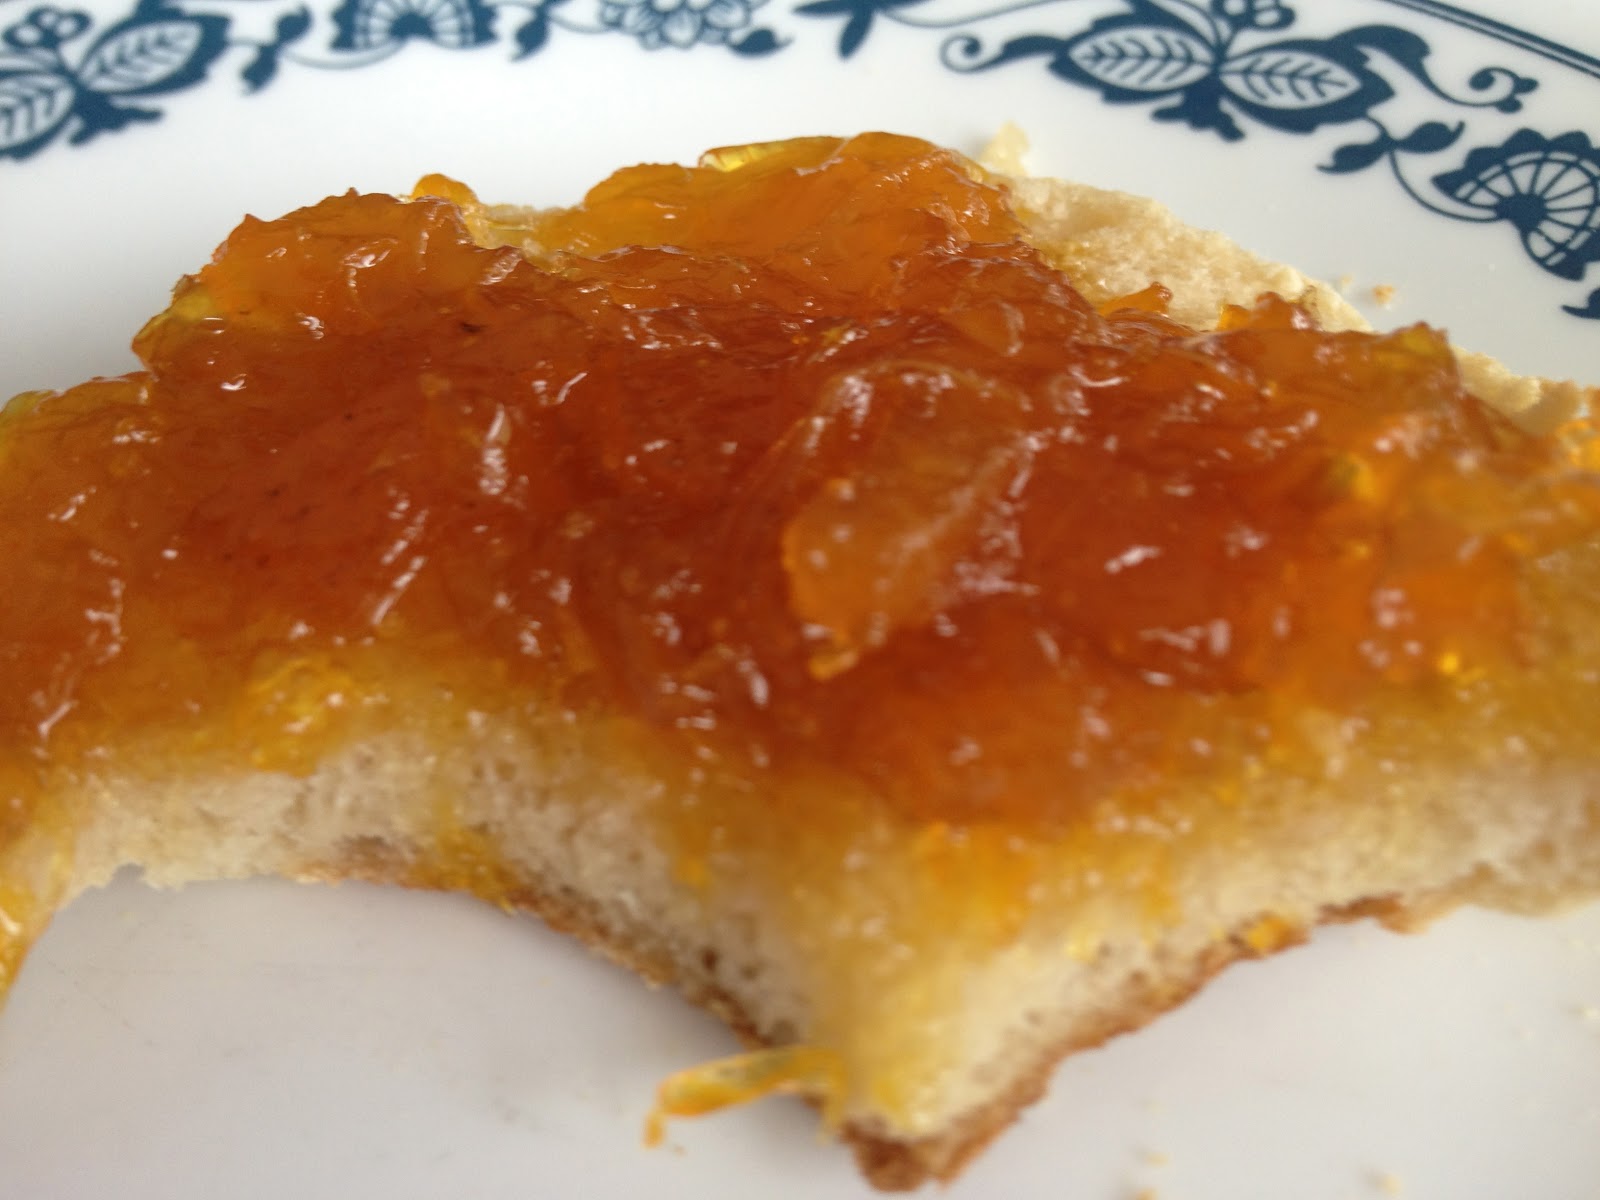
Marmalade with Tangerines - The best evah!


Gotta have the spoon shot!
What does one do when you have a child in Orchestra in school. They sell stuff to sponsor trips and they make money of their parents primarily - This is how I got suckered into getting 2 BIG crates of oranges and tangerines all the way from Florida. They tasted like nectar, that's for sure and truth to tell, it did not take much arm twisting for me to agree to buy grapefruits, navel oranges, tangerines and oh-so fresh strawberries. I made strawberry coulis, and jam and I ventured for the first time to make some marmalade. The oranges - I want to say about 12-14 yielded 3 16 ounce jars, two of which vanished before i could say Jack Robinson (an old expression of my dad - which I still use often if only to keep him in my thoughts on a daily basis.

So easy to make and so delicious you've got to try this and feel the rush and the power of making your very own, homemade, marmalade -


Ingredients

  • 12-14 good sized tangerines, pitted (see how to below)
  • 1 cup of White Sugar
  • 1cup of sugar in the raw
  • 3/4 -1  cup of orange blossom honey
  • A pinch of freshly grated nutmeg
  • 1tsp orange essence
Method


  1. Wash tangerines thoroughly and dab dry with paper towel or kitchen towel
  2. Soak in the honey for about 30 minutes
  3. Peel them in such a way that you get some big pieces that can then later be cut
  4. Cut the orange sideways to reveal the wheel. For pitting it, I took a blunt knife and simply ferreted out the seeds
  5. Chop the tangerines slices roughly. 
  6. Strain the juice and keep separate
  7. In a large 5 or 6 quart pot, add the sugars and the juice and allow it to thin 
  8. Once it gets a syrupy consistency, add the tangerine pieces and honey and the rinds
  9. Allow this to simmer for about 20-40 minutes or until you see the jam thickening to the preferred consistency. This would be the time to grate the nutmeg into the pot and stir

  10. Cool and store in Jars. (you can see how to sterilize the jars here)


The best orange peeler by tupperware, almost as old as my hubby! 


Combos that are da bomb with this delicious marmalade are - yogurt (Mama Mia) hot toast, english muffins (Mama Mia) Hot butter and marmalade over croissants (Mama Mia) and over crumpets -

For the well-adjusted Indian, this is a super combo with dosais and better yet with adais!
Enjoy until the next recipe!


Monday, August 27, 2012

Steamed Couscous Sandwiches -AKA Idlis


Idlis are often referred to as steamed rice cakes - However these have assumed several variations over the  years and people (self-included) have tried my hand at making these staple south Indian delicacy with grains other than rice. Couscous is one of them.
Couscous has replaced many a rice meal in our home and I have blogged the recipe for couscous idlis before - see here - but the kids were wanting a pizza for lunch 2 sundays ago - I did not want to make or buy pizzas - FYI each slice of pizza store/restaurant bought averages 450 for minimum to a max of 750 and beyond even depending on what the toppings are. We have been on a caloric ride all summer and the start of school signifies the change of diet as well - back to healthy, yummy, low calorie meals. This was a really yummy sandwich idli - I added the toppings of a veggie pizza - onions, tomatoes, bell peppers & green chili all sauteed into a dry curry.
For this version, I dispensed with all the thadka and made it simply with 2 cups of couscous and 2.5 cups of butternilk (actually 1 cup of yogurt and 1.5 cups of buttermilk) These babies can soak up as much buttermilk as you want to put in them - so all you need to is make the batter and cook asap.

Here are some pictures: Enjoy these idlis, for lunch, brunch, tiffin, breakfast or dinner.

these are beautiful dippy plates that we use to steam the Idlis


These babies can also be served with a freshly ground Coconut chutney, another staple side from South India - recipe to follow soon
Here is a sneak peak at it :)


Sunday, August 12, 2012

Fresh Fig Chutney/Preserve

Fresh Fig Chutney

I wonder how the expression, I don't give a fig ever came about - were they talking about Figs or was that a short for figure as in number?  If they were referring to Figs, then they have indeed been overly shortsighted to have been so dismissive of this delicious and rather luscious looking and tasting fruit. I have known the delights of this fruit thanks to my friend who has this massive fig tree at her home and has been sharing kindly. Today I picked about two pounds (about 20-24 figs) came back home and decided to make something with it asap. And after sifting through a bunch of recipes, I settled on a Fig Chutney with the half and a tart with the other. Today I blog the chutney which I must say myself was absolutely amazing! Here is my recipe and some lovely pictures of the fruit


Ingredients
12 Figs black mountain medium sized
1 cup of honey
1/2 cup orange juice 
1/2 cup Port Wine
1tbsp unsalted butter
2 cloves (crushed)
3 black whole peppers (crushed)
1 tsp each of
crushed cardamom
all spice
crushed saffron
lemon zest
My Fig Face :p

Method
Wash and cut the stems of the figs before cutting them into quarters
Melt the butter in a heave sauce pan
Heat the honey until it becomes syrupy. 
Add the rest of the ingredients (except the figs)
All the all to thicken into a syrup consistency (about 10 -12 mins of medium heat gas flame)
Now add the figs and swirl syrup around or gently aid with ladle until the syrup covers the figs.
All this to simmer in medium low flame for about 18 -20 minutes depending on how ripe your figs are. 

Remove from flame And cool.
Bottling the preserve
I wonder why I do this since this yielded about 1/2 of the 1/2 liter mason jar or a little less and from what I heard after the kids tasted it, they were planning to make short work of it by tomorrow - glad I got the pictures in now -lol :)
Anyway,
Wash the mason jar and lids with soap thoroughly and rinse
Boil them for about 7 minutes in water
Remove with tongs and pat dry with paper towel and place on a sterile (or clean) surface
Cool the chutney and put in the jar
Seal tight. If the jar is full and you notice air bubbles, open the jar ensure that they are teased out before resealing.
If this is to be put away, boil water again and put sealed jar in and boil for 5 more minutes for the seal to set. 
Label and put away in the pantry - It will be good for a year of these instructions are followed.

Now for some pics :) And stay tuned for my Fig pie/tart


Tuesday, June 12, 2012

The Perfect French Bread


The first one took less that 5 minutes to be polished off - I kid you not!

When I scoured the web for a good recipe, little did I know I was going to end up following a you tube demo of the least complicated recipe out there - The only thing you need to do if you are following him, is cut back on the salt!!!! either he made a mistake when he said 1tbsp instead of 1 tsp or he just likes his bread way too salty. Otherwise, the recipe was first rate - no fuss and most importantly NO oil - he saves the butter for the end.

Anyway, your search for a fabulous loaf of french bread end right here mes amies.

Ingredients
4 cups of flour (I used Pillsbury bread flour) AFP Or half and half of AFP and whole wheat - I guess you can play around with this :)
1 tbsp fast acting yeast
1 cup + warm water
1tsp of salt

Preparation
Mix dry ingredients flour and salt together in a bowl.
Mix the yeast in about 1/2 cup of warm water stir it in and pour into the flour
Add 1/2 more cup of warm water and nix until the dough is coming off the sides of the bowl
Transfer on to floured counter surface
Knead for a couple of minutes until you can make a smooth ball
Place back in  bowl and put a plastic grocery bag over it (or saran wrap) and allow it to rise for 2 hours
Dust the works surface with flour
After which,  take the dough, knead a couple of time and cut into 2 equal halves
Roll them out long, flatten with a few karate chops creating a dent down the middle
Bring the corners together by pinching
Repeat a couple of times, it is kinda fun to do :)
At this time, preheat oven to 400
The pinched side becomes the bottom as you roll it over
Be sure you have the surface is lightly floured so that the balls are not sticking to them
Now take a sharp regular knife and slash a few times down the middle to give it "the look" besides other scientific reasons.
Repeat with the other ball -
Now allow them to sit for another hour or 2 depending on when you need to have it ready
It will rise again, giving that fuller look to the loaf
Turn the temp of the oven to 350
Before placing in the oven, throw about 1/2 cup of water to create a moisture in the oven.
Cook for 35 minutes or until the top is brown

Remove and serve hot with olive oil, freshly grated romano or parmesan and a hint garlic. Or just put a tsp of butter and watch it melt into the loaf as you take your first bite :)

This bread is incredibly soft on the inside and has an interesting and desired crusty outer shell -

Enjoy folks - the process is really simple albeit long as are the explanations just so you can get a perfect picture of it -

I back this up with a pictorial now and another Stuffed bread recipe of which there is a sneak peak on my FB page :)


First look

good ole grocery bag - a new trick I learnt :)

Doubled in size

Shaped and Risen

check out the steam 


A Freshly cut piece :) the room was filled with the wonderful smell of warm bread


Not much kneading required to get these fab layers inside

See the butter melting yo!

My happy smile depicted in the cut :)


The back of the bread


Sunday, May 20, 2012

Lavender Blueberries Muffins


This was a second treat I made in anticipation of my Zumba miss - Another no show,  I guess she had her reasons and her commitment to me did not figure at all in her list of priorities but the disappointment nor the slight irritation at being stood for the 4th time cannot be trivialized. However, my wonderful family was as always quite welcoming of this treat.
But they filled up the room with the most pleasing aromas and I was happy for a chance to use my lavender buds.
 I got the general idea for the recipe from a website called Wiki - I like the fact they'd used small amounts of oil as opposed to butter, because this gave me the option of using olive oil.


Here is the recipe


Ingredients as given in the Wiki but with some key modifications


  • ¾ cup Sugar
  • 3 cups unbleached Whole wheat flour
  • 2 tbsp.baking powder
  • ½ tsp.salt
  • 1/3 cup olive oil
  • 1 ¼ cups milk
  • 1 tbsp. Freshly squeezed lemon juice
  • 1 tbsp. Finely grated lemon zest
  • 2 tsp. dried cooking lavender buds (1 tbsp. Fresh)
  • 3 large eggs beaten
  • 2 cup fresh or frozen blueberries


For Lavender Sugar
1tsp of lavender buds
3 tbsp of sugar
grind in a coffee grinder together and set aside for sprinkling on top of the muffin, if desired.

Preparation
Preheat oven to 375 F degrees. Combine first four dry ingredients in a large bowl. In a separate bowl, combine the lemon juice with milk and let stand for 5 mins. Add the rest of the wet ingredients including the lemon zest, lavender and blueberries to the milk and lemon juice mixture. Gradually stir wet ingredients into the dry ingredients until all dry ingredients are moistened. Bake 25–30 minutes. Cool completely before removing from pan.


Serve warn with tea!