Happy New Year to all my blogging mates. I have become a rather whimsical blogger since summer of 13 - but life, as it is won't to do, has been giving me a lot of lateral challenges and has made sure I am busy, one way or another.
A round up of the highlights of 2013 for me
First 5 months - working with my son on college applications, essays - working as in being on his case to complete tasks in a timely manner; blogging, jogging and getting physically fit for
New Year Resolves
To pray and love more, eat less - chocolate at any rate :);
To write more on my blog and other stuff
Be good about my Yoga and exercise, if my achy breaky joints will allow me
Be a better guide and role model to my kids
A more supportive wife for my hubby
Travel to a new part of the world
To be happy with all the blessings I already have been given.
A super response to my Facebook photo of the sumptuous lunch from Sunday has encouraged me to kickstart my blogging for the year with this fun and delicious snack which can become a meal, based on how much one consumes :)
For my Firangi friends, Bhel-Puri is a typical roadside snack in Mumbai and Maharashtra which is of course now as pervasive as french fries and can be had in any part of India.
Priya's Bhelpuri - serving 6

Ingredients
1) 16 cups of puffed rice
(A little dope on this - Puffed rice is available in all indian stores under the name of MURMURA - In tamil, Muru Muru means crunchy - the stuff gotten in these packets are not that and most always tend to have a stale smell to them, just because it is the nature of the beast -short shelf life. But the best way to crispin and drive out the staleness is to set your oven to 250, spread the rice kernels in a cookie pan patted down in one layer and heated for about 5-7 minutes. This does wonders, believe me!)
2) 1 large purple onion (that would be pink for the not so color savvy) chopped finely
3) juice of 1 large lemon to be mixed into the chopped onions
4) FOUR medium sized red potatoes boiled and chopped into cubes and mildly salted
5) 1/2 cup of chopped cilantro
6) Sev -I made mine own so I will give you the recipe here - a tough call if you do not have the press- store bought is okay, Haldiram's sev is recommended
7) Peanuts a handful
Scroll down for chutney recipes
keep all ingredients separate in bowls as shown below

For chutney #1
1 tablespoon of tamarind paste
1/4 cup of water
I tsp sugar
a pinch of salt
2 tsp of Sriracha sauce
a pinch of cumin (entirely optional)
Mix in all ingredients together and keep
For chutney #2
1/2 cup of free yogurt
1green chili
1/2 cup of fresh mint leaves
pinch of salt
Blend into smooth paste
Quick Sev
1 cup of besan flour sifted
1/2 cup of rice flour
1-2 tsp of salt (taste to see if you need more)
1/2 tsp of asafetida
3 tbsp melted butter
1 tablespoon thyme seeds 1 tsp of whole black peppers soaked and ground in 1/2 cup of water
Mix all the dry ingredients so salt is evenly spread into the flour
Add the butter and knead it in
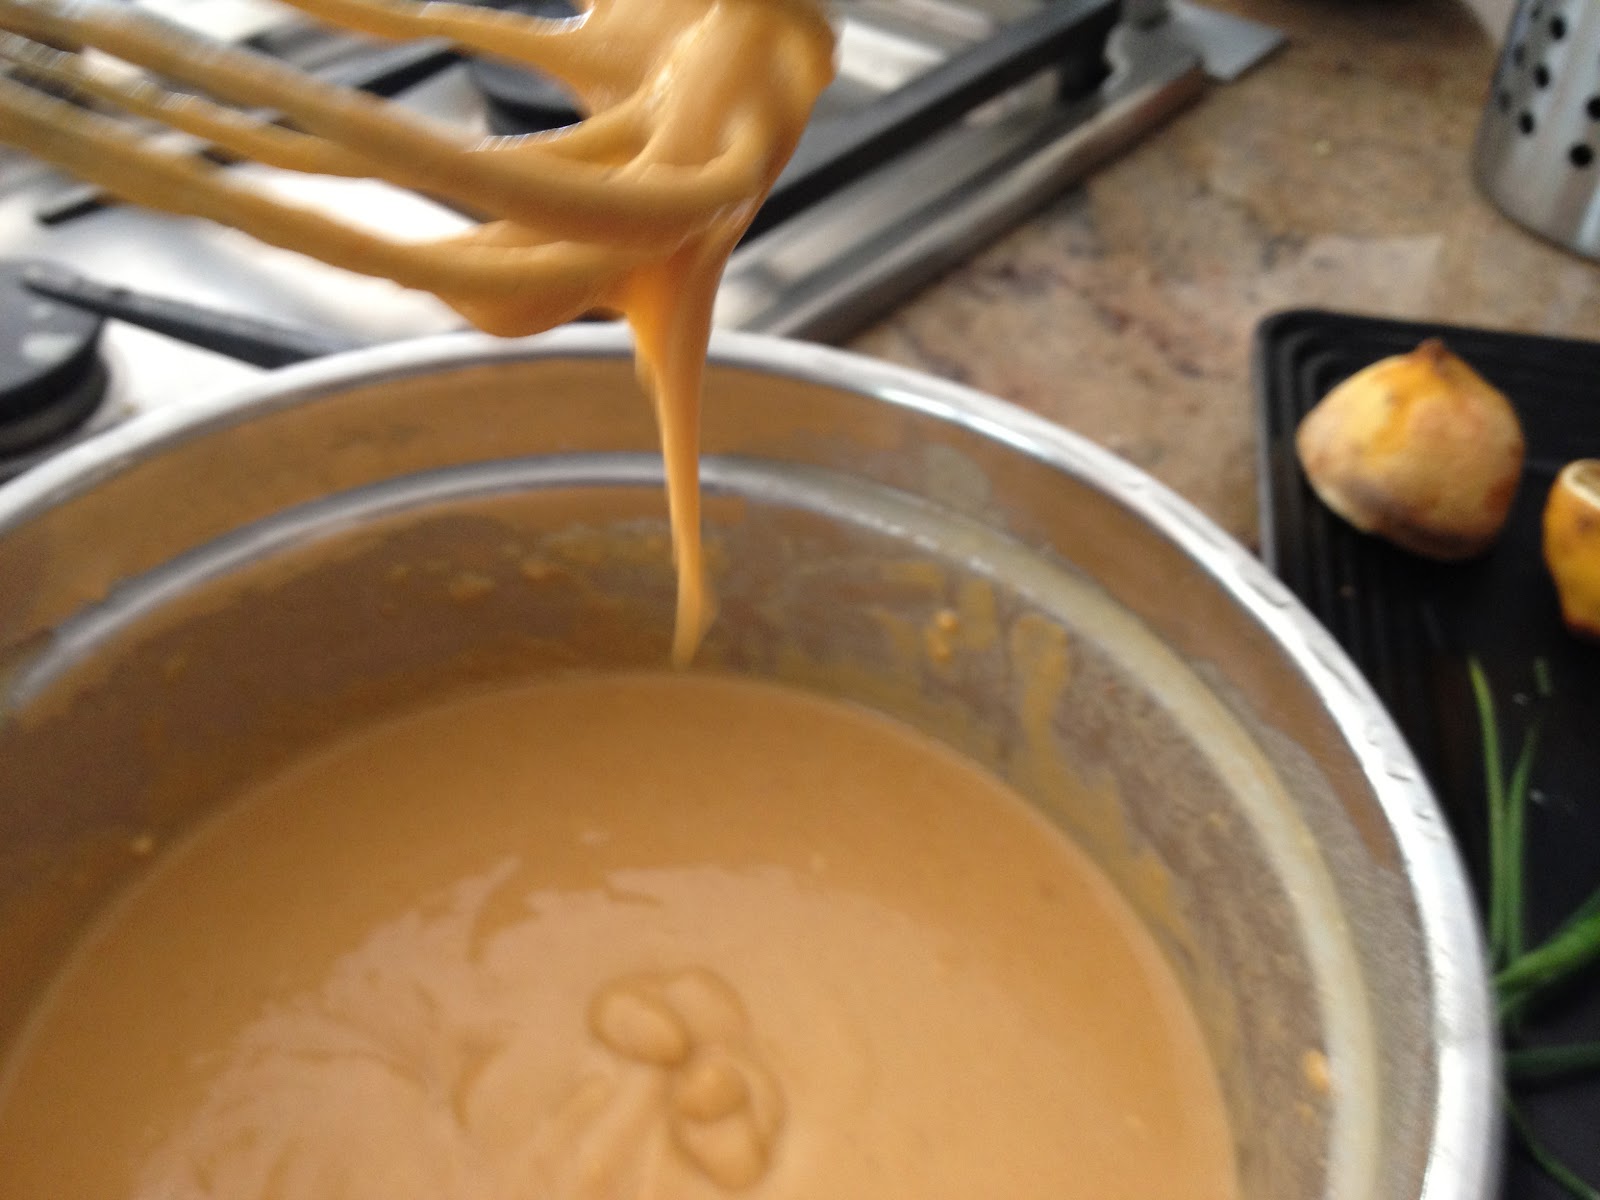
Grind soaked ingredients and strain through fine filter into the flour
The batter should be flow-y not dense, at the same time not watery (yes, this takes finesse and practice)
Fill the press(I usually spray non-stick olive oil into the hole so the batter sees out smoothly)
heat the oil and press away.
NOTE: although it seems highly procedural and a lot of work, it with practice takes probably 1/2 hour - only about as much time as it takes to run to the Indian store to get the sev - so I say why not make mine rather than settle for store bought -
RECOMMENDATION - I would suggest that until you want to take that step into making your own sev, store bough will do just fine!
My local friends - please don't say I will just come and have it at your home - I know you are perfectly capable of making this just beautifully, on your own - so please give it a shot :)
Now you have the puffed rice and all the ingredients ready
Take your plate or should I say like a true Maharastrian -tek your plet and add the bhel first, followed by the potatoes, the onions, sauces, sev and cilantro in that order - stir them together and eat :)
Hope you've enjoyed the first recipe of the year - I have a few more aces up my sleeve and I will share them with you soon

Love and peace to all.
A round up of the highlights of 2013 for me
First 5 months - working with my son on college applications, essays - working as in being on his case to complete tasks in a timely manner; blogging, jogging and getting physically fit for
- wedding in the family and wonderful family reunion
- graduation of my son and preschooler (lol)
- helping my 11th grader make course selections for school
- an idyllic summer with the family
- my new venture at the local market
- new beginnings - one to college, and one to elementary school
- an unforgettable trip to Spain and San Fran
- trying to get my children's story critiqued by the powers that b
- Such fun cooking classes - my first venture
- Cooking, baking and super duper winter holidays that have alas come to an end now
New Year Resolves
To pray and love more, eat less - chocolate at any rate :);
To write more on my blog and other stuff
Be good about my Yoga and exercise, if my achy breaky joints will allow me
Be a better guide and role model to my kids
A more supportive wife for my hubby
Travel to a new part of the world
To be happy with all the blessings I already have been given.
A super response to my Facebook photo of the sumptuous lunch from Sunday has encouraged me to kickstart my blogging for the year with this fun and delicious snack which can become a meal, based on how much one consumes :)
For my Firangi friends, Bhel-Puri is a typical roadside snack in Mumbai and Maharashtra which is of course now as pervasive as french fries and can be had in any part of India.
Priya's Bhelpuri - serving 6
Ingredients
1) 16 cups of puffed rice
(A little dope on this - Puffed rice is available in all indian stores under the name of MURMURA - In tamil, Muru Muru means crunchy - the stuff gotten in these packets are not that and most always tend to have a stale smell to them, just because it is the nature of the beast -short shelf life. But the best way to crispin and drive out the staleness is to set your oven to 250, spread the rice kernels in a cookie pan patted down in one layer and heated for about 5-7 minutes. This does wonders, believe me!)
2) 1 large purple onion (that would be pink for the not so color savvy) chopped finely
3) juice of 1 large lemon to be mixed into the chopped onions
4) FOUR medium sized red potatoes boiled and chopped into cubes and mildly salted
5) 1/2 cup of chopped cilantro
6) Sev -I made mine own so I will give you the recipe here - a tough call if you do not have the press- store bought is okay, Haldiram's sev is recommended
7) Peanuts a handful
Scroll down for chutney recipes
keep all ingredients separate in bowls as shown below
For chutney #1
1 tablespoon of tamarind paste
1/4 cup of water
I tsp sugar
a pinch of salt
2 tsp of Sriracha sauce
a pinch of cumin (entirely optional)
Mix in all ingredients together and keep
For chutney #2
1/2 cup of free yogurt
1green chili
1/2 cup of fresh mint leaves
pinch of salt
Blend into smooth paste
Quick Sev
1 cup of besan flour sifted
1/2 cup of rice flour
1-2 tsp of salt (taste to see if you need more)
1/2 tsp of asafetida
3 tbsp melted butter
1 tablespoon thyme seeds 1 tsp of whole black peppers soaked and ground in 1/2 cup of water
Mix all the dry ingredients so salt is evenly spread into the flour
Add the butter and knead it in
Grind soaked ingredients and strain through fine filter into the flour
The batter should be flow-y not dense, at the same time not watery (yes, this takes finesse and practice)
Fill the press(I usually spray non-stick olive oil into the hole so the batter sees out smoothly)
heat the oil and press away.
NOTE: although it seems highly procedural and a lot of work, it with practice takes probably 1/2 hour - only about as much time as it takes to run to the Indian store to get the sev - so I say why not make mine rather than settle for store bought -
RECOMMENDATION - I would suggest that until you want to take that step into making your own sev, store bough will do just fine!
My local friends - please don't say I will just come and have it at your home - I know you are perfectly capable of making this just beautifully, on your own - so please give it a shot :)
Now you have the puffed rice and all the ingredients ready
Take your plate or should I say like a true Maharastrian -tek your plet and add the bhel first, followed by the potatoes, the onions, sauces, sev and cilantro in that order - stir them together and eat :)
Hope you've enjoyed the first recipe of the year - I have a few more aces up my sleeve and I will share them with you soon
Love and peace to all.